Wondering how to remove gel nails at home, safely and without damage? We’ve got you covered.
We love gel manicures as much as the next person, but what we don’t love is how difficult they can be to remove. Of course, it’s not the actual removal process that’s challenging. Rather, it’s being patient enough with little chips in your nail polish to avoid picking and wait until you can safely remove it. After all, just as you should never pick at your face, you should never pick at gel or acrylic manicures. Doing so can (and usually will) remove the top layers of your natural nails, leaving them weak and paper-thin in the process. Yikes!
Since nobody wants thin, brittle nails, we chatted with Paintbox Chief Educator Evelyn Lim for the 411 on how to remove gel nails at home.


How to Remove Gel Nails at Home
What you’ll need
- Cotton balls
- Aluminum foil
- Coarse nail file
- 100-percent acetone
- Slanted orangewood sticks
- Cuticle oil
1. Prepare your materials
Since cotton balls are larger than your nail bed, Evelyn recommends cutting them in half for the gel removal process. While you have your scissors out, cut small rectangles of aluminum foil that are large enough to wrap around your cotton-covered nails when the time comes.2. Break the seal of your gel nails
Holding your coarse nail file at one end, Evelyn says to buff it back and forth across each gel nail to remove the top layer of shine. “You don’t want to do a whole seesaw motion because that’s how you’re going to create friction and heat,” she says. Instead, use small circular motions. The trick is to buff adequately without hitting the natural nail plate, as that’s where damage occurs. Depending on your gel nail look—whether it’s just lacquer or has foil or glitter mixed in—you’ll need to buff more or less. The more non-polish nail art, the more buffing you’ll need.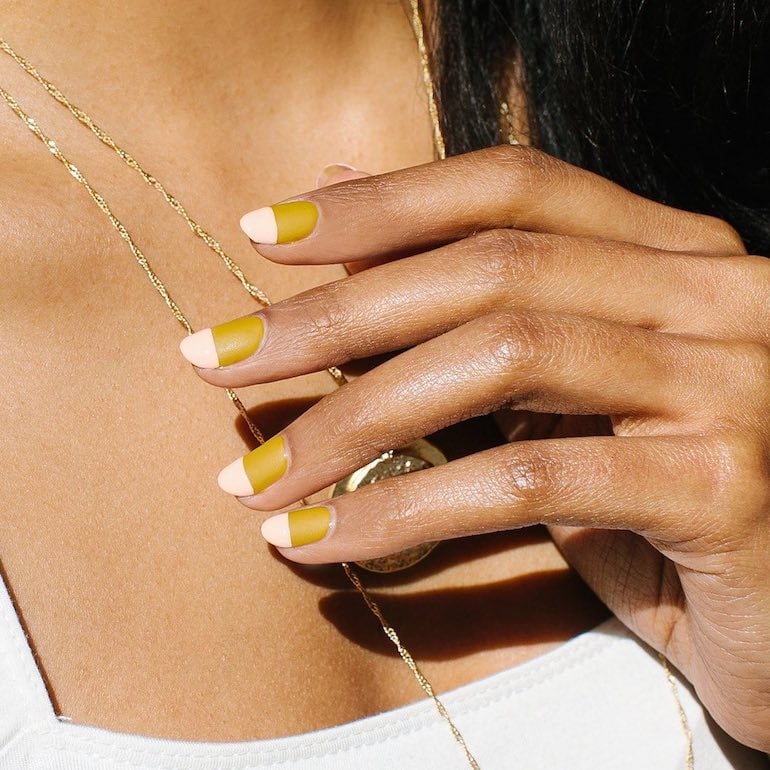
3. Wrap your nails
Start by saturating a cotton pad with 100-percent acetone. (Note how we clarified the type of acetone. Evelyn says that pure acetone is the only type that will work to effectively and safely remove gel polish.) Place the cotton pad on top of your nail and wrap it with aluminum foil, tucking at the tip. Continue this process on each nail and let soak for 10 minutes.4. Remove wraps and remaining polish
Once the 10 minutes are up, remove the aluminum and cotton. Then use an orangewood stick to gently remove the rest of the polish. If you’re having a tough time removing the gel, Evelyn says you should rewrap until the polish is flaking up on its own. If you notice that any base coat or remnants of your gel nails remain, use your coarse file to gently buff it out for a smooth surface.5. Finish with cuticle oil
After you’ve removed your gel nails, Evelyn says to finish with cuticle oil to hydrate your nails and the delicate skin that surrounds them.The Takeaway
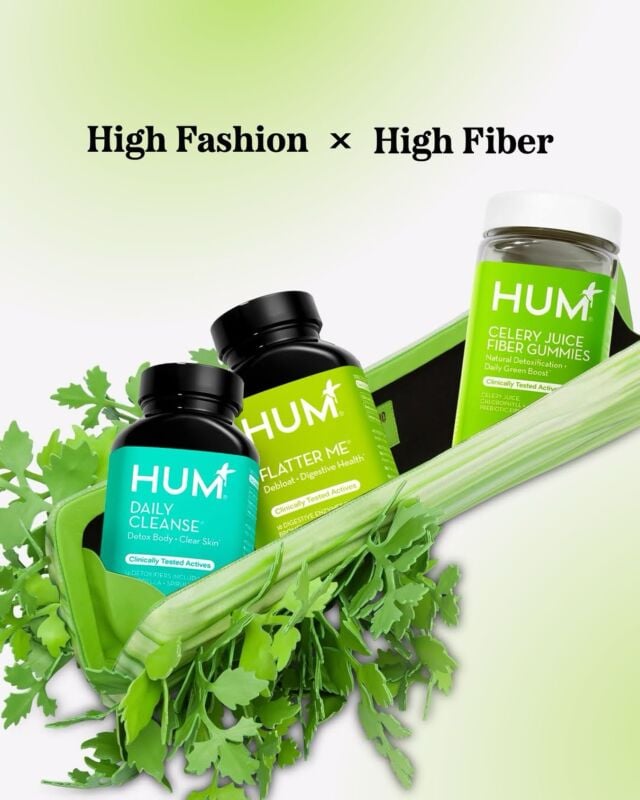
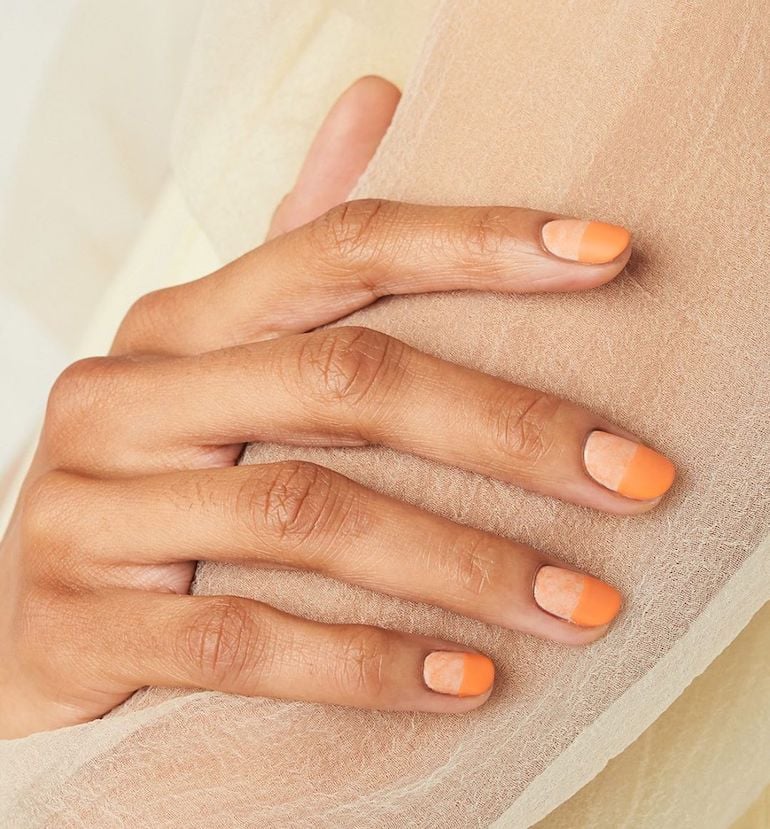
Regardless of how gentle you are when you remove gel nails at home (or at the salon for that matter), gels can be damaging to your natural nail bed. Keeps hands and nail moisturized with lotion and cuticle oil, add in a nail strength supplement like HUM’s Killer Nails, and consider letting nails breathe before putting gels on right away. Hate naked nails? A safer alernative that removes in seconds are ManiMe’s gel stick on nails. Plus, if you’re the type who just loves to pick at your nails, even when you know it’s bad for them, these peel off to remove, without damaging your nails.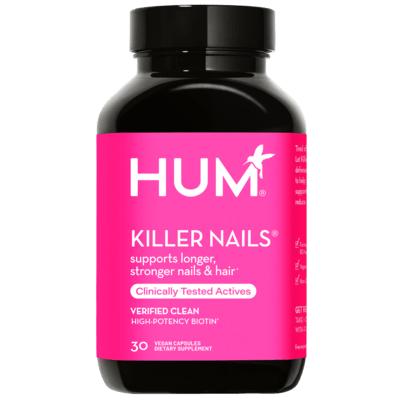
More like this