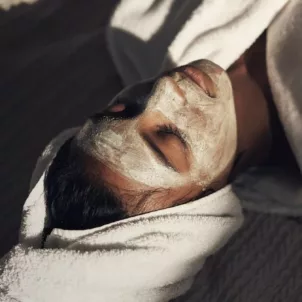
Nourish your dry skin—both in winter and year round—with these esthetician-approved DIY hydrating face masks.
Our skin reacts to cooler temps as if flipping a switch. One day, a cool, dry wind passes through, and instantly we’re dry, flaking, inflamed, and impervious to our summer moisturizers. That’s because lower temperatures typically mean low humidity, which adversely affects skin barrier function.
One hack is to get a quality humidifier for at least your bedroom to boost humidity while you rack up restorative beauty rest. We also asked a few professionals to share their favorite homemade hydrating face mask recipes to save your dry skin.

4 DIY Hydrating Face Mask Recipes
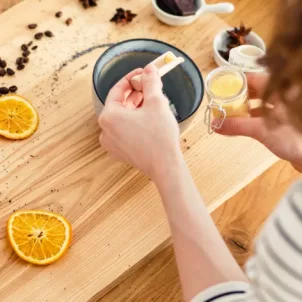
Here are the recipes to four DIY super hydrating face masks recommended by estheticians. Luckily, they’re easy enough to whip up with goods you likely already have in the kitchen. Be sure to keep them in your weekly rotation to stay hydrated and glowing.
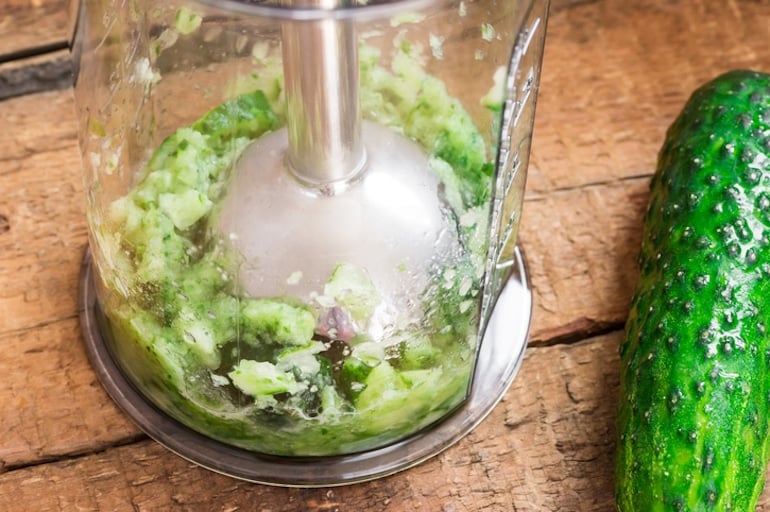
1. Cucumber + egg white mask
Caroline Godsick, a medical esthetician at Facile Dermatology + Boutique in Los Angeles, has nailed the ultimate medley for dry skin. It has naturally hydrating ingredients, exfoliating lactic acid, nourishing fats, and antimicrobial honey to kick some multitasking butt. “Cucumber contains high water content. It refreshes and rehydrates your skin, making it plump and youthful,” Caroline shares. “Egg whites have astringent properties that will tighten the skin and make enlarged pores less obvious. The addition of honey is important, as it’ll boost your skin’s moisture levels, provide suppleness, and take away that uncomfortable, taut feeling from the egg whites. Yogurt’s creamy texture helps to lock in moisture.”INgredients:
- 1/4 cucumber
- 1 egg white
- 1 tsp honey
- Spoonful of plain, unflavored yogurt
How to:
Cleanse face thoroughly and pat dry. Fully blend the cucumber, then mix in the honey and yogurt. (It may be helpful to whip up the egg white a bit before adding to the mixture, but it’s not necessary.) Spread it thinly and evenly all over face, and add a second thin layer. It may drip, so it’s good to work in phases to get a thicker application. Leave on for at least 20 minutes. Fortunately, longer periods won’t hurt with these wholesome ingredients! Rinse with warm water. If necessary, use a washcloth to buff off any remnants.2. Herbal Tea + Seaweed Mask
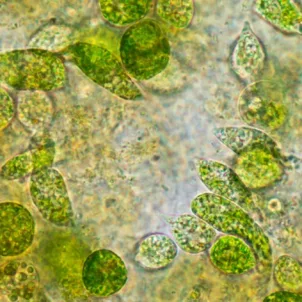
Stacy Sitko is an esthetician and founder of Yarrow Skin Care Collective in Portland, Oregon, where she’s dubbed the extraction queen and goddess of glow. Her favorite DIY hydrating face mask is deeply mineralizing for a happy skin barrier with improved function in the face of dry winds. “Seaweed is a complete food source, making it the mother of all superfoods,” Stacy begins. Not only is it packed with minerals, but also “trace elements and vitamins our cells need to thrive. It’s bio-available, meaning our skin cells are able to absorb it and utilize all its beneficial nutrition to both detox and replenish the skin.” Next, when it comes to which tea to use, Stacy suggests the following guide based on your skin concern:- chamomile for sensitive skin
- spearmint for breakouts
- licorice for hyperpigmentation
- green tea for aging
INgredients:
- 2 tbsp seaweed powder
- 1 chamomile, spearmint, licorice, or green tea bag
- Hot water
- Mixing bowl
- Application brush
- 3 drops of lavender essential oil (optional)
How to:
Steep the tea for the recommended amount of time. Meanwhile, measure out the seaweed in a small mixing bowl. If the smell is off-putting to you (it’s briny and earthy), add lavender essential oil. Once the tea is steeped and still warm (but not hot), add one teaspoon of tea to the seaweed and mix with your application brush in a small bowl. Continue to add tea until the seaweed is the same consistency as pancake batter. Apply the mask slightly warm. Brush over clean face, neck, and chest, and let sit for 20 mins. Rinse off with tepid water.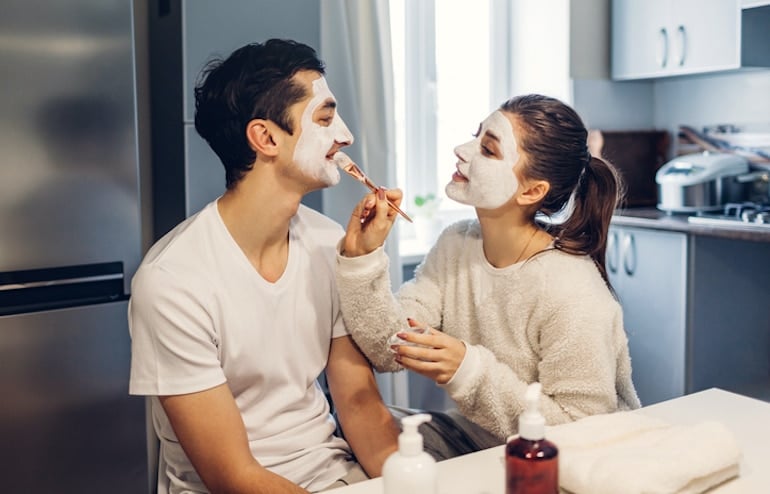
3. Goat Milk + Chlorella Mask
January Armstrong is the lead esthetician at holistic facial spa Shop-Good, as well as a savant when it comes to maintaining optimal skin. She loves this creamy chlorella mask for a mineral-rich, softening facial anyone can do at home to brighten their day—and their face, of course. January lets us in on the deets of this powerful yet super simple face mask. “It’s loaded with B vitamins, magnesium, and zinc—all which help calm skin inflammation and support a healthy moisture barrier, which is essential for cold and dry months,” she shares. “The goat’s milk yogurt is a great source of natural lactic acid, which promotes gentle exfoliation. Plus, it contains fats that can hydrate the skin and support those experiencing any dryness and sensitivity.”Ingredients:
- 1 spoonful of organic goat milk yogurt
- 1/2 tsp chlorella powder
- 1/2 tsp Manuka honey
How to:
Cleanse thoroughly and pat dry. Mix ingredients well with a wooden spoon or application brush, and evenly apply a thick layer. Leave on for 10 minutes then rinse off to enjoy its plumping and smoothing effects.4. Manuka Honey Mask
Brittney Valverde Valiere is an esthetician, holistic mama, and skin consultant at On and On, a space for rituals, skincare, and wellness from the inside and out in Hawaii. Her go-to is completely straightforward and super potent. You only need one thing on hand: Manuka honey. The reason Manuka honey is so potent on its own is that it’s antibacterial, anti-viral, anti-fungal, and anti-inflammatory. It’s also a humectant, meaning it can both retain and provide moisture. It’s a powerfully healing natural compound, and is shown to be effective in treating eczema and other skin conditions.Ingredients:
- Manuka honey (Brittney recommends Activist Manuka)
How to:
Cleanse face thoroughly and pat dry. (This could be a great time to double cleanse, giving your skin a loving massage with an oil cleanser before finishing with a pH-balancing, gentle cleansing gel.) Apply a thin layer of Manuka honey evenly to face. Don’t worry about getting it close to the skin around your eyes; in fact, it’s encouraged! Leave on for 15 to 20 minutes. Rinse with warm to tepid water, or gently exfoliate it off with a microfiber washcloth and pat dry.
More like this